Last Updated on March 10, 2020
Dependent on the grain type, there are different methods on how to cook brown rice on the stove.
The Japanese say that it takes twenty years for a person to master rice preparation to perfection. Hopefully, this article will help you create your perfect aromatic whole grains much sooner.
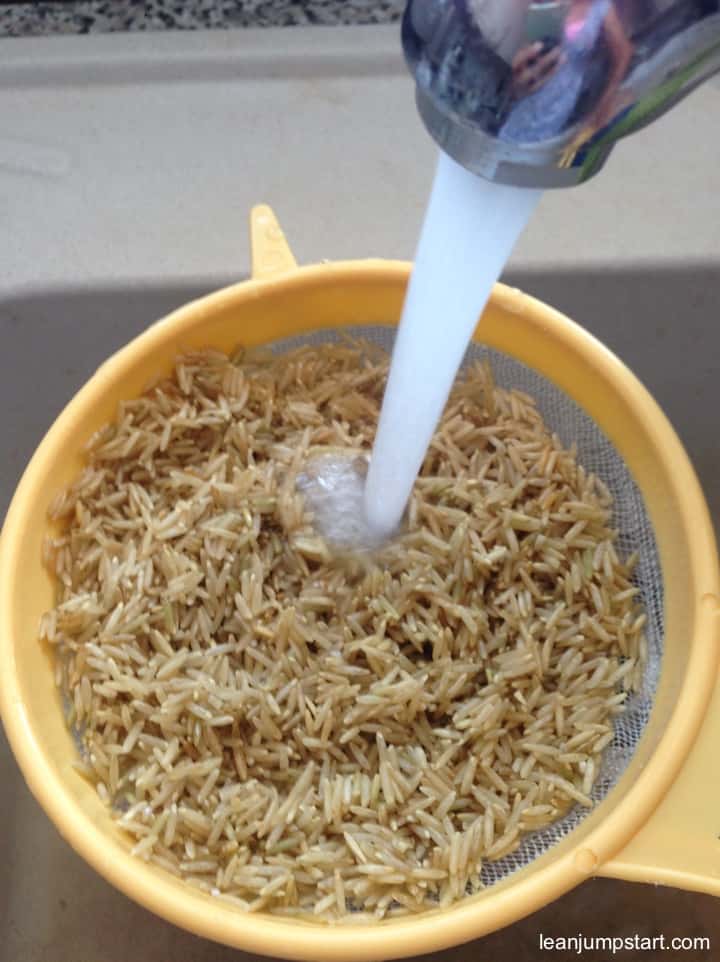
No matter which method you choose you have to first rinse your grains in a strainer under cold water until the water gets clean. This might take up to 30 seconds.
Method 1: Jump into hot water like pasta
The water-rice method is the safest as well as my preferred way of preparation. What I finally found out is that the stovetop side dish tastes and looks the best when you boil and drain it like pasta. In the last step, you let it steam, covered in the remaining moisture in the pot.
This method is absolutely uncomplicated and suitable for most common varieties such as Basmati, Jasmine, long grain or short grain rice. But, there is another important argument which speaks in favor of this pasta-like method which I will discuss more about later.
Why I recommend a 1:12 ratio
It might surprise you to know that brown rice to water ratio is 1:12. This means, for four portions of long grain brown rice as side dish (approx. 250 grams/9 oz. of dry rice), you need a fairly large pot or saucepan in which you boil 3 liters/3 quarts of water with 2 teaspoons of salt.
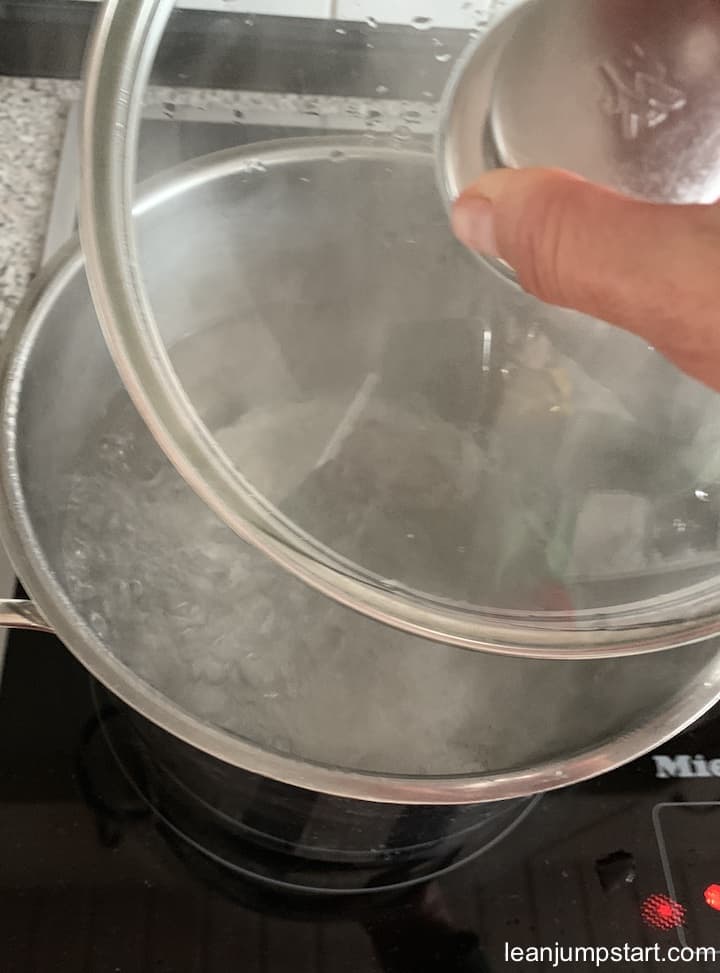
Then, add grains to the boiling salt water, stir it once, and boil uncovered for 30 minutes at medium heat.
After draining in a colander, quickly return it to the still hot pot, cover with a lid and let it stand for 10 minutes. This allows the grains to firm up, so that it doesn’t crack when ladled from the pot. Lastly, lightly fork through the grains and serve.
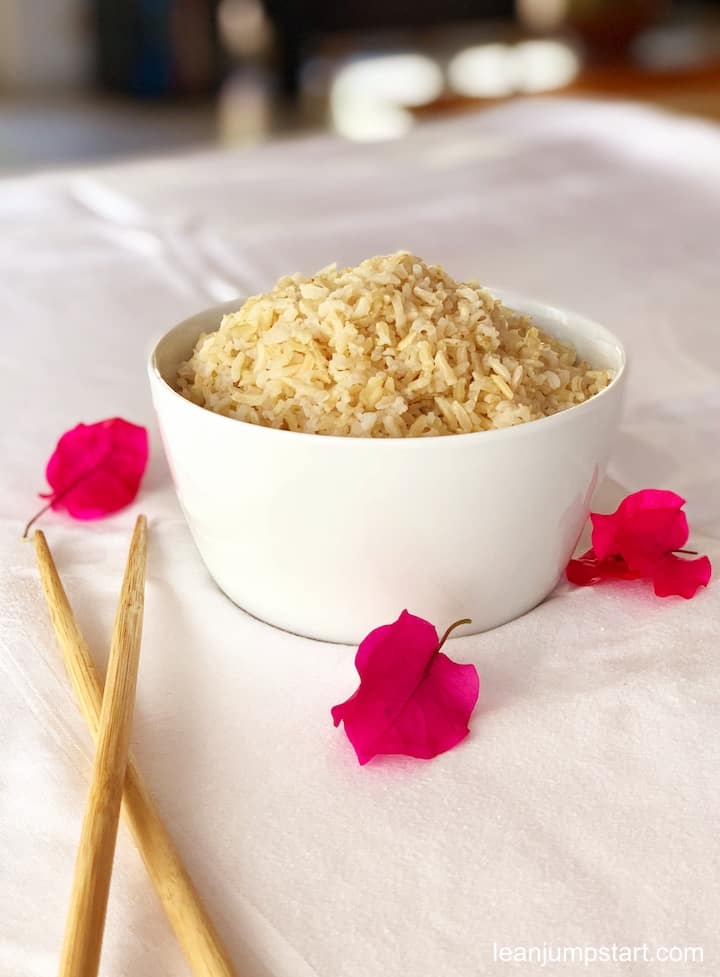
Water-Rice method
My preferred way of cooking perfect fluffy brown rice
- Prep Time: 5
- Cook Time: 40
- Total Time: 45
- Yield: 4 1x
Ingredients
- 250 grams/9 oz./1 large cup brown rice, rinsed thouroughly under cold water
- 3 liter/3 quarts of water
- 2 teaspoon salt
Instructions
- Heat a large pot or saucepan with water and salt and let it come to a boil.
- Add grains to the boiling water, stir it once.
- Reduce heat and cook the rice uncovered at medium high heat for 30 minutes. Then turn off the heat.
- Drain it in a colander.
- Then return it quickly to the still hot pot.
- Let it sit in the covered pot for another 10 minutes.
- Remove the lid, lightly fluff the rice and serve.
- Eat and enjoy.
Valuable insoluble fiber
The first, pasta style method comes with one disadvantage: All the minerals and vitamins that have been transferred from the grains to the water end up in the drain. Luckily, some protein and the important insoluble fiber in the bran layer can’t be washed away. Insoluble fiber keeps your bowels moving and can help relieve constipation.
For an overall healthy meal it is important to serve your fiber rich side dish with a nutrient dense companion like e.g a vegetable curry. For an extra portion of vitamins, I serve a colorful salad as starter.
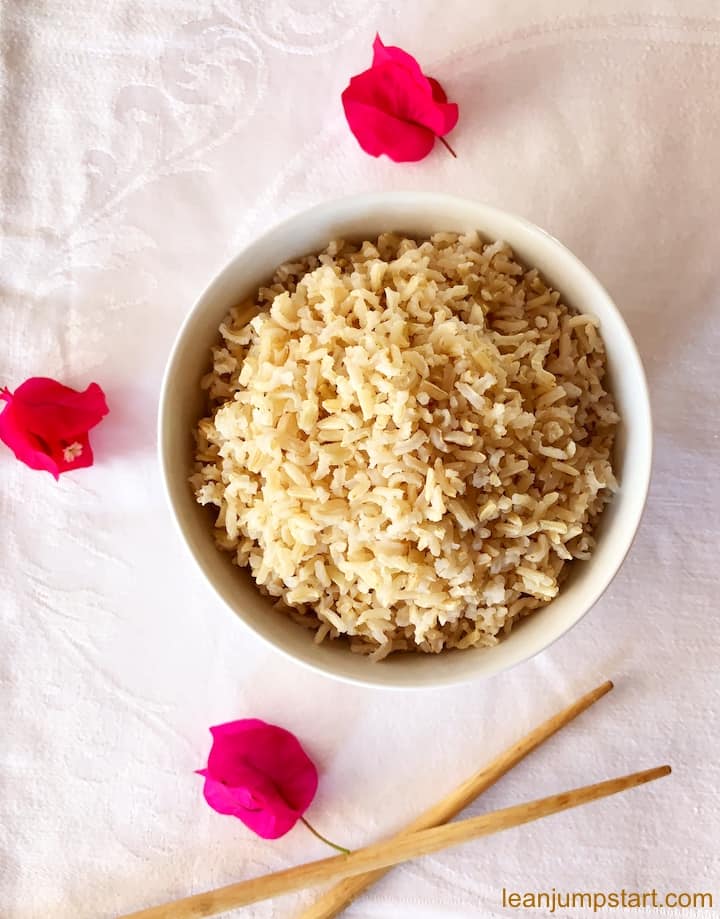
2. Simmer-and-steam method
The simmer-and-steam method is the gentlest way of preparing this aromatic dish. With this cooking method the heat-sensitive vitamins suffer the least. All nutrients and seasonings remain in the whole grains. Add only as much water/broth to the rice as it can absorb during cooking. This method is also the principle of any rice cooker.
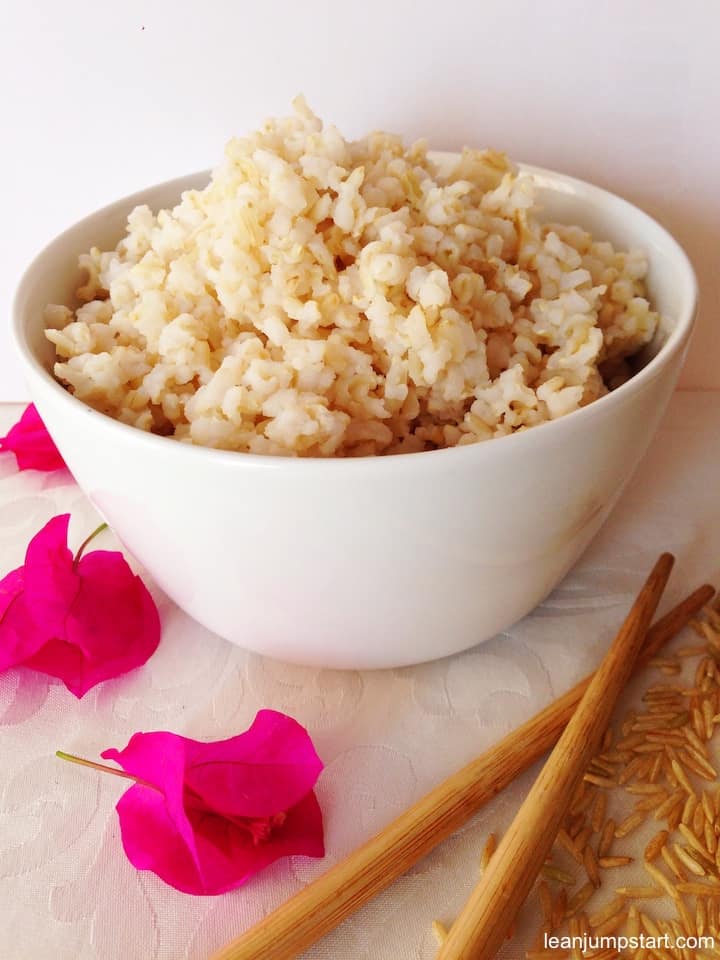
As a guideline, you can use 2 cups of water (salted) or vegetable broth per 1 cup of grains Let the covered whole-grain product come to a boil and let it then simmer for 30 to 45 minutes. Allow to stand for another 10 – 15 minutes until the grains soak up all liquidity. My experience with this second method is that the result tends to be a bit mushy. Also some grains are being stuck together (see picture below). But, if you love sticky grains, then this is your way to go.
Which quantity do you need?
How much of these fiber foods you need depends if you use it as side dish, main dish or as addition to a soup. All following data refer to raw, uncooked varieties:
- Easy healthy side dishes: 60-80 g per person
- Main dishes: 80-100 g per person
- Addition to soups: 20-30 g per person
How to minimize arsenic to reap all health benefits
It is no secret that the brown variety contains more protein, fiber, and complex carbohydrates than white rice. And yet, in spite of its high nutritional value, I recommend to vary the types of grains more often. According to Consumer Reports, brown rice contained 80% more arsenic than its white counterpart. Luckily as clean eaters we know and cook with plenty of fiber rich alternatives. Grain types with lower arsenic are amaranth, bulgur, buckwheat, barley, farro, millet and the pseudo grain quinoa. Click through to learn more about alternative whole grain foods.
If you want to minimize the possible risk of arsenic contamination, then the “pasta-like” method is the preferred method. The arsenic contained in rice’s brown outer hull leaks into the cooking water and is poured away. This way, the arsenic content can be reduced by about 75 %.
You’ll often read about a grains to water ratio of 1:6 which will work too. But, with only half of the water the reduction of arsenic content is less efficient. Given the fact that even organic varieties with fewer pesticides are often polluted with arsenic, a higher water to grain ratio is the safer strategy.
How to save some water
If using so much water seems wasteful to you, try the following strategy. Soak your grains the night before in double as much water, remove the water the next day and rinse thoroughly. Then follow the instructions above with a 1:6 ratio. In that case, you can shorten the cooking time a bit.
Wild rice vs brown rice
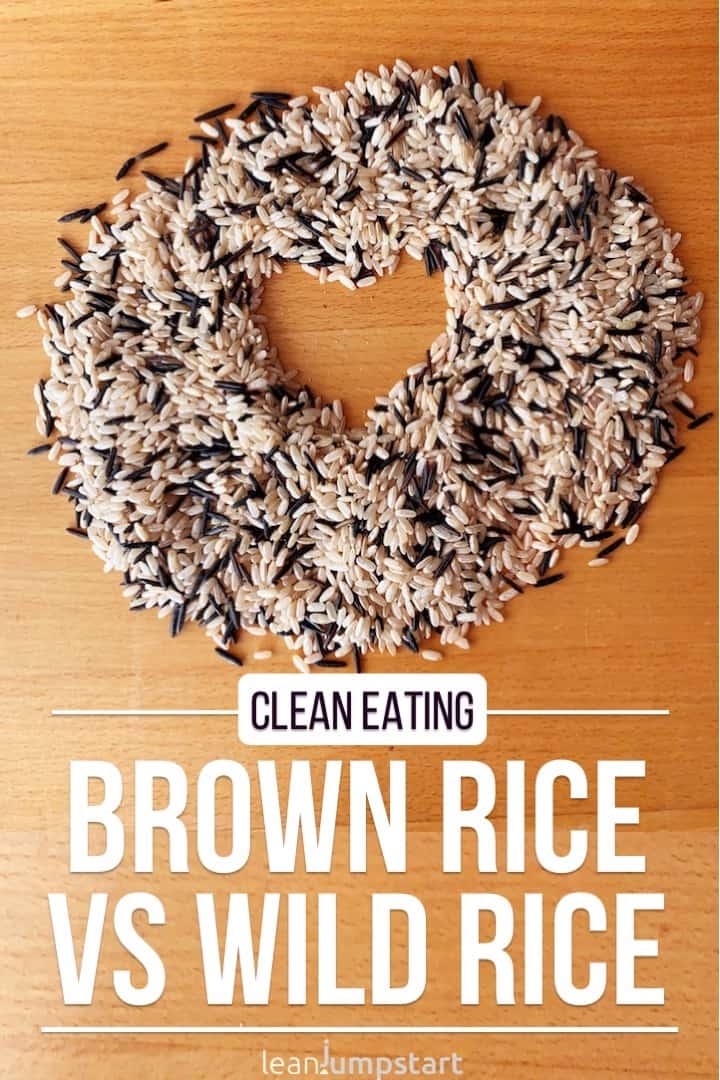
Wild rice also called “Canada” or “Indian rice” is in reality, a water grass plant. Botanically, it is only remotely related to “real rice”. This North American specialty grows on Canadian lakeshores and in the Mississippi Delta.
Formerly, the main food of the indigenous people, it is harvested with canoes. With long poles, they pull the high stalks into the canoe and beat the grains out of the ears. This is an elaborate procedure, which explains the high price of this grass plant.
Indian rice contains at least as much fiber but much more protein, iron, magnesium and zinc than brown rice. Its taste is very nutty and harmonizes well with fine fish, meat and poultry.
As the pure “grass” is still too expensive for many, you may want to opt for the cheaper, equally delicious version. An affordable mixture of wild rice and brown rice will result in a fiber rich eye-catcher on any plate.
Healthy brown rice recipes to lose weight
Learn to make good habits stick!
Do you love smart cooking tips that help you improve your eating habits? Then make sure to check out my 52 Chef Habits E-Course. Click through!


Never thought to cook rice like pasta. Curious to give it a try!
Once you try this cooking method, Matt, you will ask yourself, why you didn’t cook your grains always like that…
Love how you broke down the whole process. Rice can be so tricky and I’m definitely going to try your tips to getting it right.
Yes that’s true Jen. Either it is too mushy or not done yet. The pasta-like cooking method simplifies the whole process with success guarantee:)
Very informative. I was not aware of the first method – of cooking it like pasta. I will definitely be trying this way to cook brown rice!
Thank you Jill. Yes, if you want to keep it safe regarding toxins, then the pasta like method is your way to go.
I wish I had seeen this a couple of years ago when I finally learned to cook brown rice. In my case, I think the Japanese were correct. It took me about twenty years!
Haha! I’m the same Pam. No matter how old we are, we never learn out. And this is also good for us;)
Coo! I’ve never tried this method for cooking brown or wild rice… now I can’t wait to give it a go. Thanks for all the tips too. 🙂
Hey Catherine, thank you:) Just give this “pasta like cooking method” a go. You won’t regret it.
Great guide to cooking brown rice! I love rice and have actually written a guide on how to cook basmati, as well as wild rice( both on the stove and in the Instant Pot), on my website. You can never eat to much rice!
Thank you Markus! Once I own an instant pot I will have a look at your instructions. I don’t share however your opinion regarding “you can never eat too much rice”.
Nowadays with the arsenic challenge, it is better to vary your whole grain consumption as much as you can.
Great instructions in this post! We eat a lot of rice, so hopefully I can now perfect it much quicker than 20 years!!
Thank you Lauren – I’m sure you’ll by now a grain cooking pro. The pasta type preparation is something you’ll never read on any package instruction and yet it’s so efficient.
I love rice. Now I know how delicious to cook it. You are a genius! This is really great advice. Thank you for sharing this post.
Hey Mary, thank you for your kind words! I’m glad that my advice inspires you to take cooking your beloved grains to a new level.
These are great tips! I never knew you needed so much water and would never have thought to drain it like pasta.
Thank you Danielle, I’m glad that my cooking method could inspire you. I have to admit that I’ve cooked for a long time with the second method. Only recently with the raised awareness regarding arsenic I’ve switched to method 1 and I’m happy with the results.
Wow! I would have never imagined that much water! Good to know!
You need this huge water quantity to better wash out a possible arsenic content.